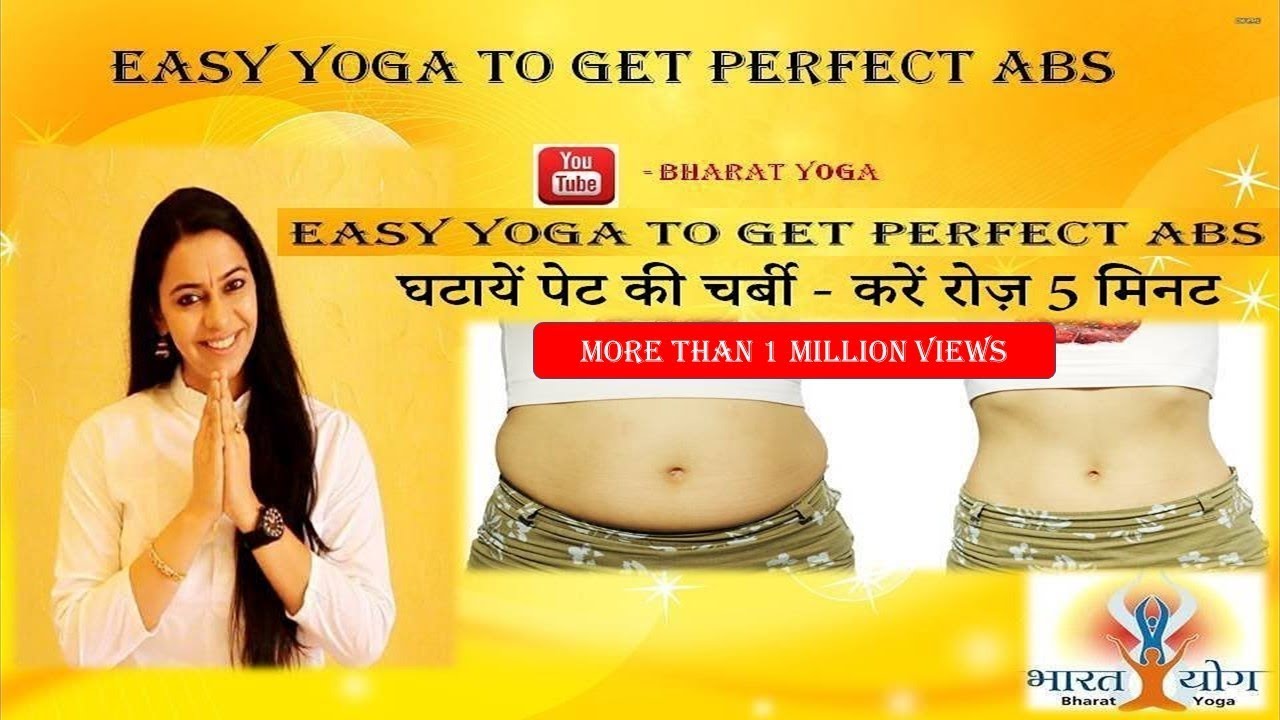
You have lost a lot of mornings working out and convincing the tires around your waist to dissolve. But they don’t. Whether it is flab you gained because of emotional eating or just the love of it (eating), childbirth, stress or long term lack of activity, abdominal fat is one pile on that always refuses to vacate.
You despair as the jeans you just managed to fasten, puff up a tire under that button as you exhale! And this is after months of running, dieting, and gym work-outs. Yoga can come to your rescue. Lift your spirits as you regain the shape you always wanted, with age-old techniques to flatten those stubborn abs.
Surya Namaskar (Sun Salutation) for instance, involves a set of instructions, which when combined with ancient cleansing kriyas and Pranayama, can restructure your body from the inside (without any incisions). Weight loss and toning are just the byproducts of all the good yoga can do to our bodies.
Faith
Before embarking on this program, one must sincerely commit themselves to the practices below. With faith and respect for age-old techniques (which science has now begun to acknowledge), one must follow the instructions outlined, with a ‘belief ’ that it will work well for our bodies.
Detoxification before Exercise
Vaman Dhauti or Kunjal Kriya
This is one of six (shatkarma) well known cleansing or detoxification kriyas/processes in yoga known to kick start weight loss. It must be performed on an empty stomach, first thing in the morning. It needs to be done only once a month.
Method: Boil and cool drinking water till it is lukewarm and add a tablespoon of salt to one liter of water. Wash your hands with soap.
Drink several glasses of this as quickly as possible, until you feel you can’t drink more.
Do not sip slowly, but drink as if you have been thirsty for days.
You will reach a stage when your stomach is full and you begin to retch or have the urge to vomit.
Now, lean forward, bending over a wash-basin and insert both your (middle and index) fingers of your hand, as far back as you can into your throat. This will induce the feeling to throw up.
Once you start vomiting, you will see a lot of phlegm and all the undigested food from the stomach. This will clean your upper gastrointestinal tract clean of toxins. After this, rest and do not eat for at least an hour.
You will feel slight discomfort in your throat because of the induced vomiting, but allow this feeling to settle before you eat again.
Caution: Those with eye infections, active ulcers, recent surgeries, hernia, and other serious conditions must not attempt this.
Exercise for Your Entire Physique
Asanas and Pranayama
Surya Namaskar, like most asanas, mustbe performed on an empty stomach. You could have a few sips of water after you wake up, if you’re very thirsty. In the morning, before the Sun gets hot, between 6 a.m. and 8 a.m., do your practice on a mat. One round of Surya Namaskar comprises twelve asanas, which are six asanas done twice, facing the Sun. A little warming up before Surya Namaskar always helps.
Precaution: This exercise is not meant for pregnant women, those with cardiac ailments, recent surgeries, or hernia. Also, keep in mind that all the explained asanas, kriyas and breathing exercises have to be learnt under the supervision of a certified Classical yoga practitioner.
Asana 1
Stith Prarthasana or Pranamasana (Namaskar Pose)
Method: Surya Namaskar begins with the Standing Prayer pose. Stand erect with the feet together on the yoga mat. Place palms together at the base of the sternum (Anahat chakra). Keep elbows and shoulders relaxed, and abdomen tucked in. Keep toes together and knees together. Close your eyes; remain steady. Breathe normally.
Asana 2
Hasta Uttanasana (Raised Arms Pose)
Method: From the previous position, keeping palms together, stretch your hands above the head. Inhale with straighten elbows and ensure your upper arms are behind your ears. Move your hands and bend backwards, keeping sight of your palms. After attaining the maximum position, hold for ten seconds, consciously relaxing all the muscles of your body.
Asana 3
Hasta Padasana (Extended Hand to Big Toe Pose)
Method: Reverse the previous pose by bending forward and down, touching your toes with your fingers. Go slow without giving any jerks to the body and exhale slowly but totally. Loosen the muscles of your stomach and try to rest your palms on the ground, near your big toe. Keep the knees straight. Maintain shoulder distance between the palms. Stay in this position till you feel the need to inhale. Relax all your muscles.
Asana 4
Ardha Bhujangasana
Method: Without moving your hands and your left foot, take your right leg back and away from the rest of your body. Lower your body to touch your right knee and the toes of your right foot onto the ground. Breathe normally as you do this.
Sit down on the right leg. Ensure that your left foot rests entirely on the ground. Lift up the shoulders and pull back the head. Inhale and hold your breath for as long as you can. Settle into this asana comfortably before you move into the next pose.
Asana 5
Adho Mukha Svanasana or Parvatasana (Downward Facing Dog Pose)
Method: Take the left leg backwards and let both feet meet each other as your entire weight comes onto your arms. Breathe normally. Maintaining shoulder distance between both arms let your head go down as you lift the middle part of the body as high up as possible like a mountain, or a dog stretching.
Advanced Variation: Push your head down in such a way to allow your chin to meet your chest. Try to adjust your shoulders and body in such a way that you can touch the heels to the ground. It will be difficult initially, but it will happen by the third set. After attaining the maximum position, hold this position under normal breathing for a minute.
Asana 6
Sashtang Namaskar
Method: Keeping your legs and hands as they are, allow the knees and elbows to bend to allow your body to rest on the ground. Breathe normally.
Maintain your feet and knees close to each other. As you rest your chest and forehead on the ground, ensure that eight parts of your body are touching the ground, namely your forehead, chest, palms, knees and toes.
This pose is to be held for a maximum of ten seconds and should not be used as a rest point.
Asana 7
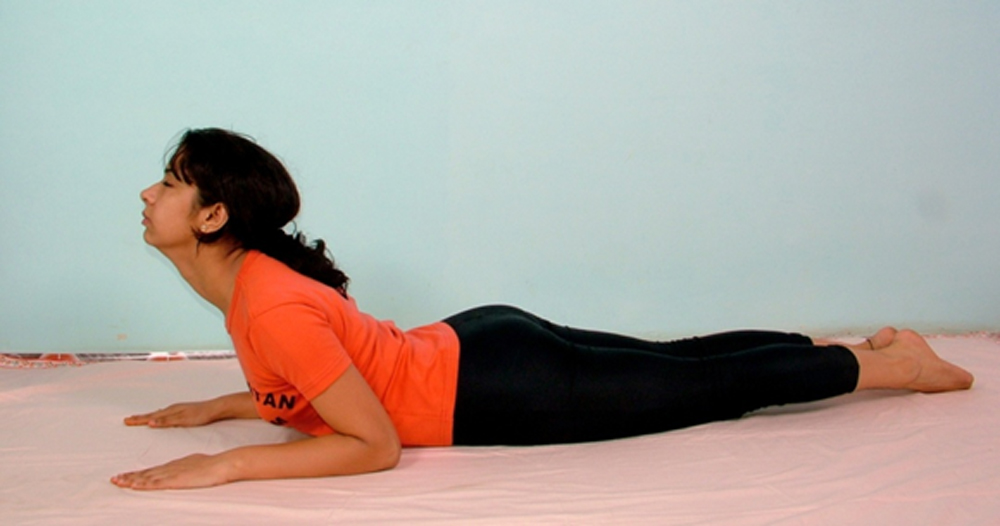
Bhujangasana (Cobra Pose)
This is the interval of the Sun Salutation, which marks the beginning of the reverse set of the above six asanas to complete one round.
Method: Maintaining palms on the ground lift the shoulders by using the strength of your upper back and spine. Do not support the weight of your body with your arms; instead keep your wrists light on the ground (as a support) for your lift. Inhale and hold your breath while lifting your upper body.
While lifting the shoulders, ensure that your knees touch the ground; heels are together and toes apart. Feel your heart and lungs opening up with your inhalation. Hold for as long as you can, and exhaling, relax into the next pose.
Now, reverse the above set of six asanas in the order below, to reach Namaskar pose in this order.
Sashtang Namaskar:
As specified earlier.
Adho Mukha Svanasana or Parvatasana(Downward Facing Dog Pose):
As specified earlier.
Ardha Bhujangasana:
You have to ensure that you take the opposite leg that you used in Asana 4, in the front. Since you had then taken your right leg back, ensure that this time, the left leg stays back as you lunge forward into the asana.
Hasta Padasana:
As specified earlier.
Hasta Uttanasana:
As specified earlier.
Stith Prarthasana or Pranamasana (Namaskar Pose):
As specified earlier. Stay in this pose for twenty seconds to stabilize your breath before starting the next set. As you practice, imagine solar rays entering your entire body, freeing it of toxins. Do all the Surya Namaskar asanas in perfect sequence, and do not take a break until one round is complete. Avoid overstretching.
Benefits of Surya Namaskar/Sun Salutation:
- Absorbing some of the Sun’s infinite energy is a sure shot way to beat fatigue.
- Helps kick start the day as it balances energy, boosts vitality, stamina, and mental peace.
- Results in improved elasticity of the spine and healthy blood circulation. Enhanced blood circulation gives the skin a glow.
- The body gets stronger, aligned and fabulously toned, simultaneously.
Konasana or Sideward Stretching
This takes care of the muscle groups, which the Sun Salutation doesn’t address. For every one round of Surya Namaskar, you must do five side bends (Konasana) to take care of the excess fat around the sides.
Method: Stand with your back straight, feet two and a half feet apart, elbows bent, palms on your waist. Exhale and bend to your left side as you raise your right arm to reach your right armpit, and slide your left palm down to reach your left ankle.
Do not bend forward or backward, and make sure your body is in the same plane as you bend. Hold for as long as you can and come back inhaling. Repeat on the other side.
Kapalbhati Pranayama
Conclude your session with this miraculous Pranayama.
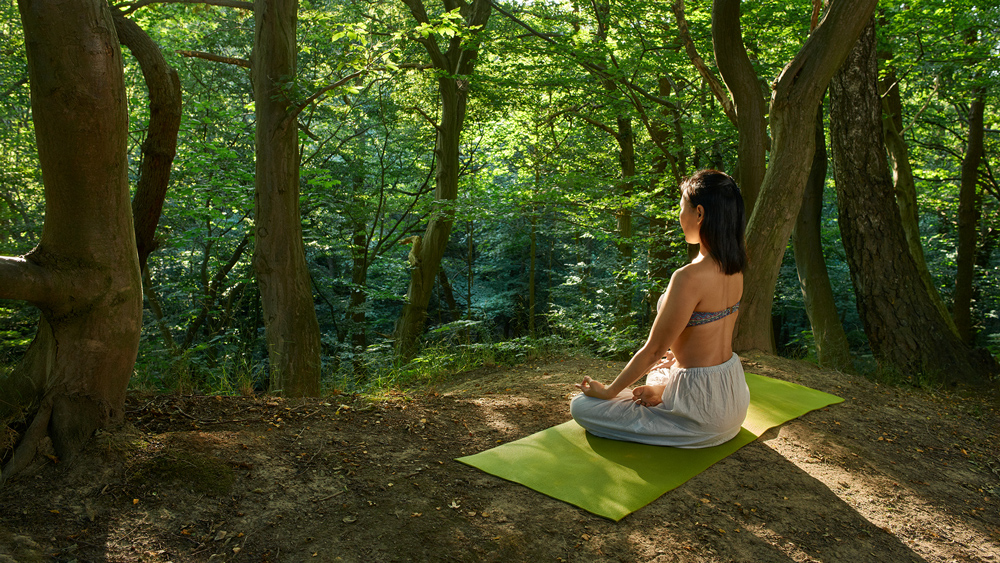
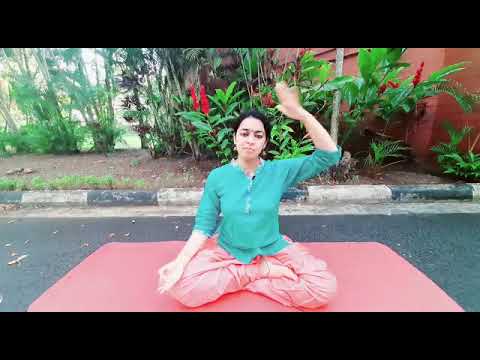
Method: Sit in a comfortable asana such as Vajrasana or Padmasana. Rest your palms on your knees and relax your face. Inhale normally and exhale with a little force, which you can tolerate. Optimize your practice to make one round of inhalation and exhalation per second. Abdominal area also goes outward (on inhalation) and inward on exhalation as you practice this. Do no more than 30 breaths at one time.
Benefits of Kapalabhati: Kapalabhati(Shining Forehead) kriya cleanses the entire respiratory system. It increases the supply of oxygen to the body and tones abdominal muscles.
For maximum impact, practice daily. Start with three rounds of Surya Namaskar and Konasana, and twenty rounds of Kapalbhati, increasing your rounds by one per week.
Sincere, daily and correct practice of the above five steps can give you a fabulously strong, toned and glowing body within three months.
Suman Chhabria Addepalli is a personal and corporate yoga trainer; certified by the Yoga Institute, Mumbai, India.


